Airflow is a tool commonly used for Data Engineering. It’s great to orchestrate workflows. Version 2 of Airflow only supports Python 3+ versions, so we need to make sure that we use Python 3 to install it. We could probably install this on another Linux distribution, too.
This is the first post of a series, where we’ll build an entire Data Engineering pipeline. To follow this series, just subscribe to the newsletter.
Install dependencies
Let’s make sure our OS is up-to-date.
sudo apt-get update -y
sudo apt-get upgrade -y
Now, we’ll install Python 3.x and Pip on the Raspberry Pi.
sudo apt-get install python3 python3-pip
Airflow relies on numpy, which has its own dependencies. We’ll address that by installing the necessary dependencies:
sudo apt-get install python-dev libatlas-base-dev
We also need to ensure Airflow installs using Python3 and Pip3, so we’ll set an alias for both. To do this, edit the ~/.bashrc by adding:
alias python=$(which python3)
alias pip=pip3
Alternatively, you can install using pip3 directly. For this tutorial, we’ll assume aliases are in use.
Install Airflow
Create folders
We need a placeholder to install Airflow.
cd ~/
mkdir airflow
Install Airflow package
Finally, we can install Airflow safely. We start by defining the airflow and python versions to have the correct constraint URL. The constraint URL ensures that we’re installing the correct airflow version for the correct python version.
# set airflow version
AIRFLOW_VERSION=2.1.2

# determine the correct python version
PYTHON_VERSION="$(python --version | cut -d " " -f 2 | cut -d "." -f 1-2)"

# build the constraint URL
CONSTRAINT_URL="https://raw.githubusercontent.com/apache/airflow/constraints-${AIRFLOW_VERSION}/constraints-${PYTHON_VERSION}.txt"

# install airflow
pip install "apache-airflow==${AIRFLOW_VERSION}" --constraint "${CONSTRAINT_URL}"
Initialize database
Before running Airflow, we need to initialize the database. There are several different options for this setup: 1) running Airflow against a separate database and 2) running a simple SQLite database. The SQLite database is in use in this tutorial, so there’s not much to do other than initializing the database.
So let’s initialize it:
airflow db init
Run Airflow
It’s now possible to run both the server and the scheduler:
airflow webserver -p 8080 & airflow scheduler
Now open http://localhost:8080 on a browser. If you need to log in, you’ll need to create a new user. Here’s an example:
airflow users create \
    --username admin \
    --firstname Peter \
    --lastname Parker \
    --role Admin \
    --email [email protected]
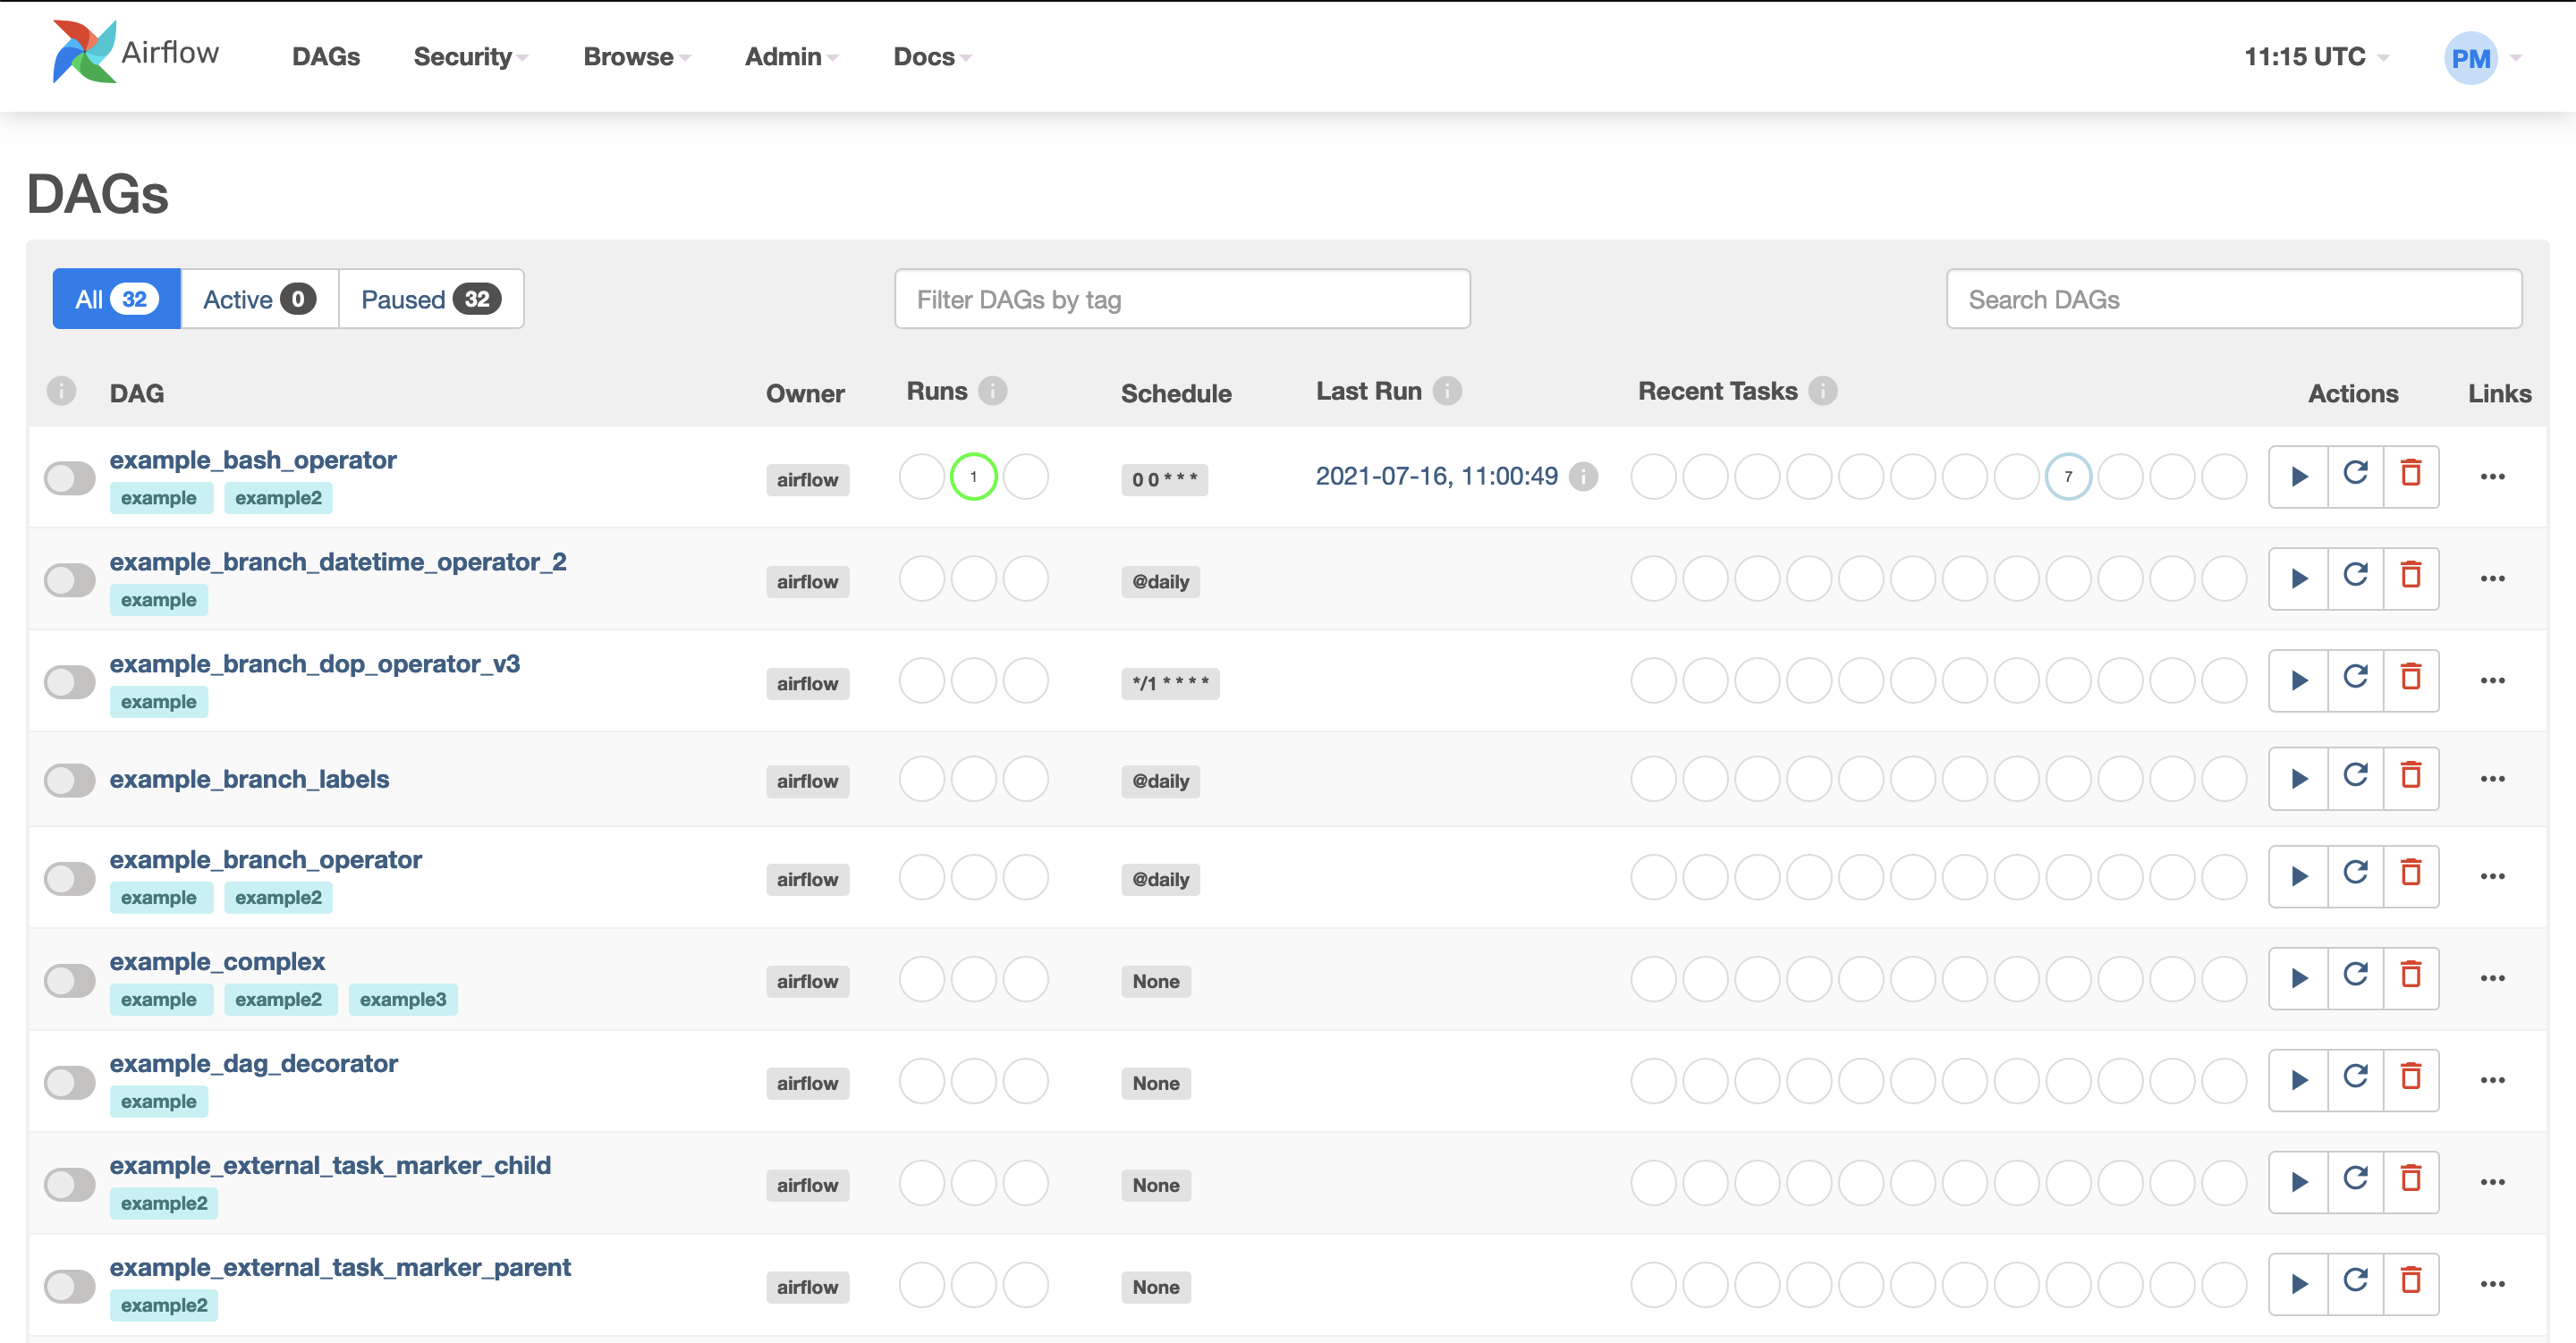
Once authenticated, it’s now possible to see the main screen:

And that’s it - you’ve now installed Airflow! Optionally, you can take extra steps.
Optional
Start airflow automatically
In order to start both the webserver and the scheduler automatically on system boot, we’ll need three files: airflow-webserver.service, airflow-scheduler.service, and an environment file. Let’s break this into parts:
Go to Airflow’s github repo and download the
airflow-webserver.serviceand theairflow-scheduler.servicePaste them on the
/etc/systemd/systemfolder.Edit both files. Firstly,
airflow-webserver.serviceshould look like:
[Unit]
Description=Airflow webserver daemon
After=network.target postgresql.service mysql.service redis.service rabbitmq-server.service
Wants=postgresql.service mysql.service redis.service rabbitmq-server.service

[Service]
EnvironmentFile=/home/pi/airflow/env
User=pi
Group=pi
Type=simple
ExecStart=/bin/bash -c 'airflow webserver --pid /home/pi/airflow/webserver.pid'
Restart=on-failure
RestartSec=5s
PrivateTmp=true

[Install]
WantedBy=multi-user.target
Now moving on to edit airflow-scheduler.service file, which should look like:
[Unit]
Description=Airflow scheduler daemon
After=network.target postgresql.service mysql.service redis.service rabbitmq-server.service
Wants=postgresql.service mysql.service redis.service rabbitmq-server.service

[Service]
EnvironmentFile=/home/pi/airflow/env
User=pi
Group=pi
Type=simple
ExecStart=/bin/bash -c 'airflow scheduler'
Restart=always
RestartSec=5s

[Install]
WantedBy=multi-user.target
Notice that the user and Group have changed, as well as the ExecStart. You’ll also notice that there’s an EnvironmentFile that hasn’t been created yet. That’s what we’ll do now.
- Create an environment file. You can call it any name. I chose to call it
envand placed it on the/home/pi/airflowfolder. In other words:
cd ~/airflow
touch env
Edit the env file and place the contents:
AIRFLOW_CONFIG=/home/pi/airflow/airflow.cfg
AIRFLOW_HOME=/home/pi/airflow/
- Lastly, let’s reload the system daemons:
sudo systemctl daemon-reload
sudo systemctl enable airflow-webserver.service
sudo systemctl enable airflow-scheduler.service
sudo systemctl start airflow-webserver.service
sudo systemctl start airflow-scheduler.service
That’s it! What’s next?
In the next blog post of this Data Engineering series, we’ll create our first Directed Acyclic Graph (DAG) using Airflow. Subscribe to the newsletter, and don’t miss out!
